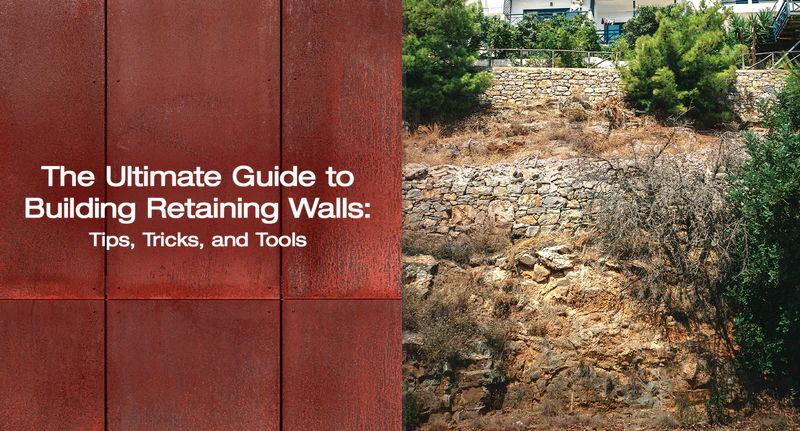
Retaining walls are essential structures in both residential and commercial landscaping, serving to hold back soil and create level areas on sloped terrain. Whether you’re looking to enhance your property’s curb appeal or prevent erosion, building a retaining wall is a crucial step in achieving a well-structured and aesthetically pleasing outdoor space. These walls not only add functional value but also help to manage water flow and prevent land degradation.
When it comes to constructing a retaining wall, the materials and tools you choose are critical to the project’s success. Popular options include natural stone, concrete blocks, and wood, each offering distinct advantages in terms of durability, appearance, and cost. Tools such as a plate compactor, laser level, and hand tamper are indispensable for ensuring that your wall is built on a solid foundation and is perfectly level.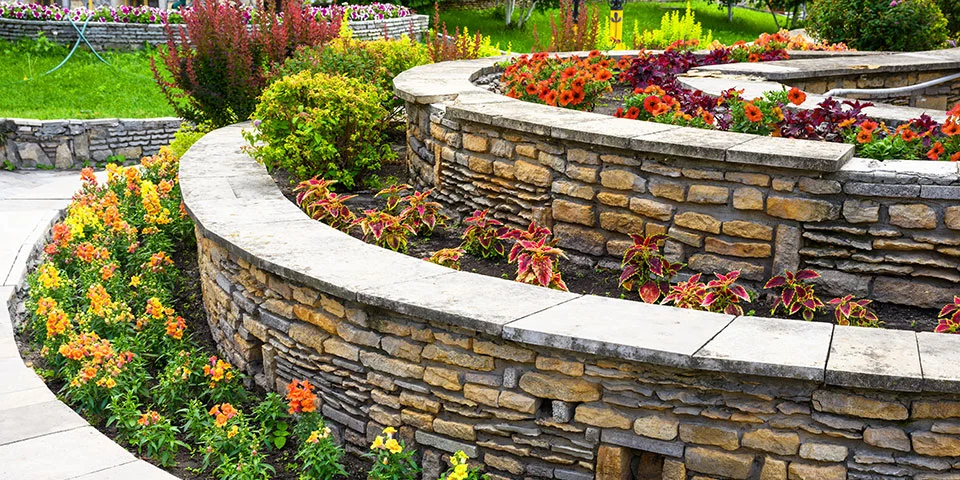
Understanding Retaining Walls
What Are Retaining Walls?
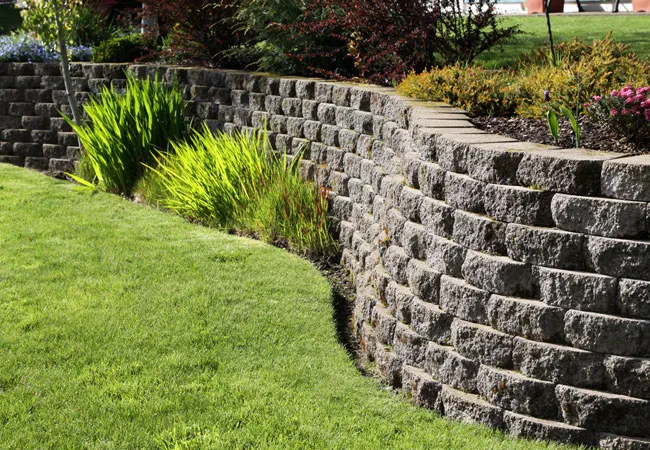
Retaining walls are structures designed to hold back soil and stabilize sloped landscapes. They are commonly used in both residential and commercial settings to create level areas, manage water flow, and prevent soil erosion. These walls can be constructed from various materials, including natural stone, concrete blocks, and wood, each offering unique benefits depending on the project’s needs.
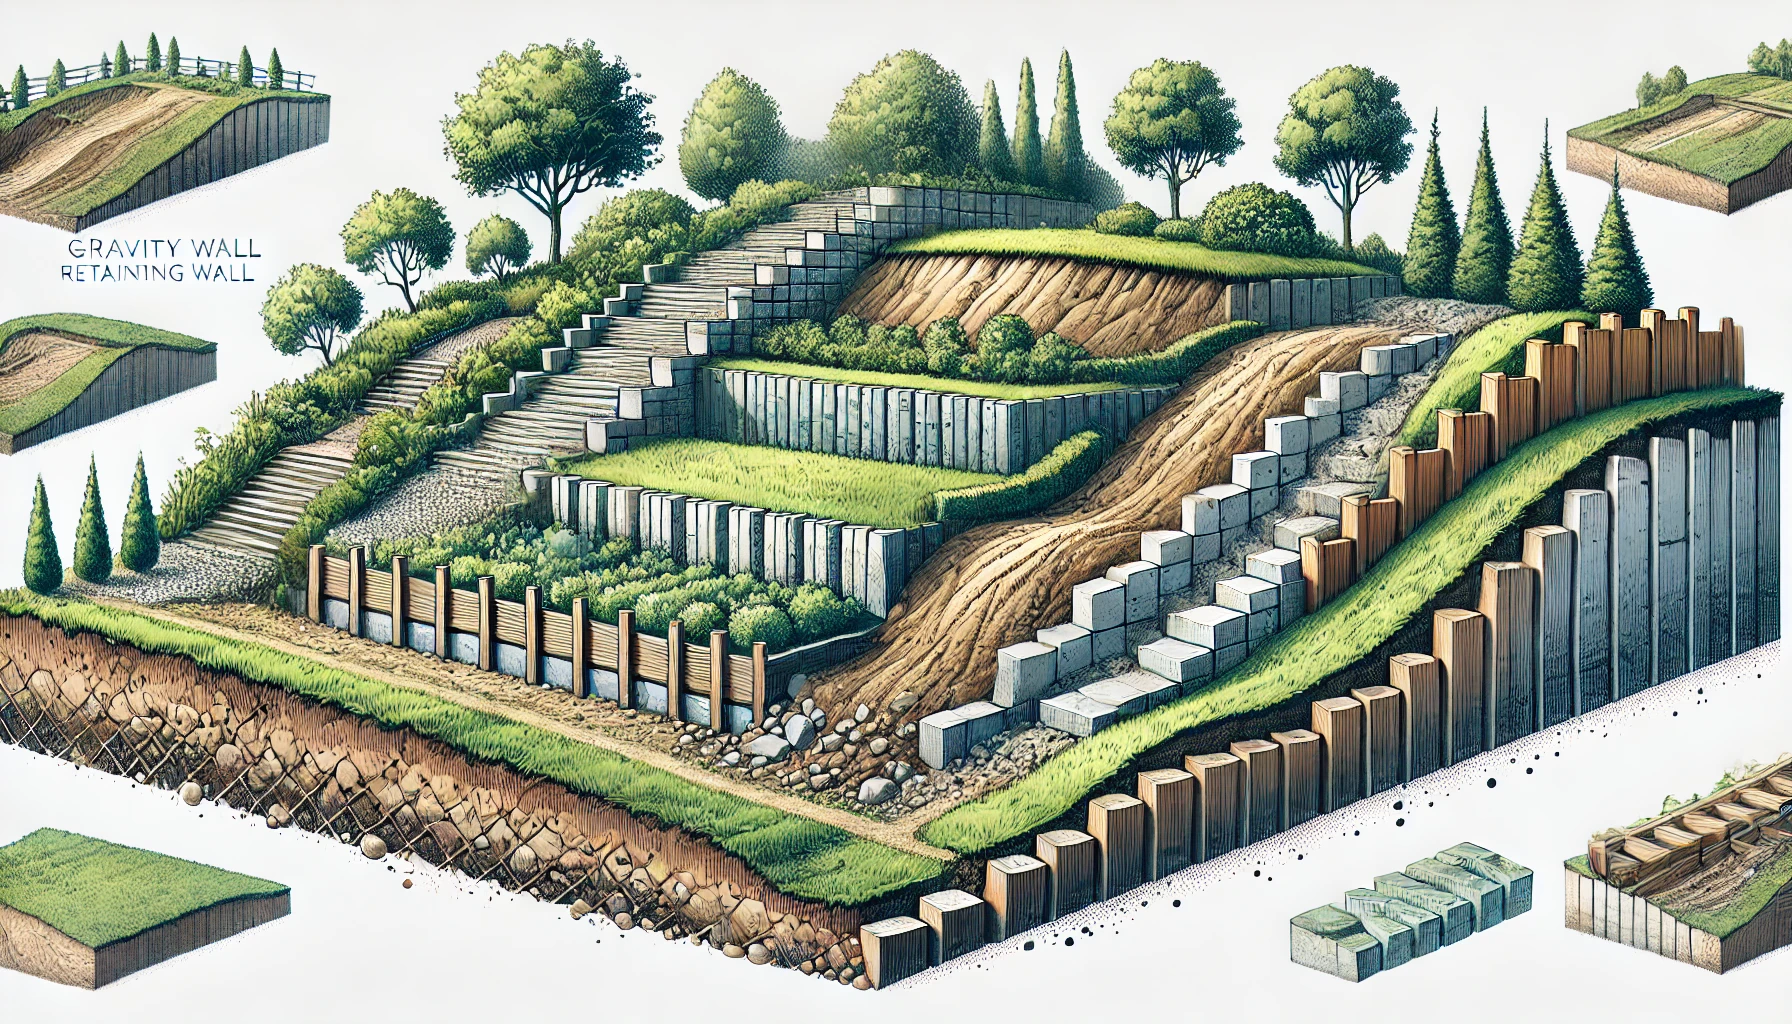
There are several types of retaining walls, including gravity walls, which rely on their mass to resist pressure, and cantilevered walls, which use a reinforced base for added stability. Understanding these types helps in selecting the right wall for your specific application.
Importance of Proper Drainage
Proper drainage is crucial when building retaining walls, as it helps to prevent water from accumulating behind the wall, which can lead to structural failure. Drainage issues can cause water pressure to build up, eventually causing the wall to bow, crack, or even collapse. To avoid these problems, incorporating drainage solutions like gravel backfill, weep holes, or perforated pipes is essential.
Proper drainage not only extends the life of the retaining wall but also helps to manage water flow, reducing the risk of erosion and protecting your landscape. Addressing drainage issues from the outset ensures the wall’s longevity and stability.
Materials and Tools Needed for Building Retaining Walls
Choosing the Right Materials
Selecting the right materials is a crucial step in building a durable and attractive retaining wall. Retaining wall blocks are a popular choice due to their uniform size and ease of installation. These blocks often come with interlocking edges, providing added stability and strength. Natural stone offers a more rustic and organic look, making it ideal for landscapes that aim to blend seamlessly with nature.
However, natural stone can be more challenging to work with due to its irregular shapes and sizes. Poured concrete is another option, known for its strength and versatility. It allows for custom shapes and can be textured or stained to match any aesthetic, though it may require professional installation for best results. Each material has its own set of pros and cons, so choosing the right one depends on your project’s specific needs and your personal preferences.
Essential Tools for the Job
Having the right tools is essential for building a retaining wall that is both sturdy and long-lasting. A plate compactor is used to compact the soil and gravel base, ensuring a solid foundation for the wall. The hand tamper is another tool that helps in compacting smaller areas or when working with tighter spaces.
To ensure each row of blocks is level, a laser level or a traditional spirit level is indispensable. Other essential materials tools include a shovel for digging the trench, a rubber mallet for adjusting the blocks, and safety gear such as gloves and goggles to adhere to safety precautions. Using the correct tools not only makes the construction process smoother but also ensures that your retaining wall will stand the test of time.
Planning and Preparing Your Site
Assessing the Ground and Slope
Before beginning construction, it’s vital to thoroughly assess the slope and ground level of the area where you plan to build the retaining wall. Understanding the sloped yard conditions will help determine the height and design of the wall, ensuring it effectively holds back the soil and manages water flow. Begin by measuring the slope’s angle and identifying any irregularities in the terrain.
This assessment will guide you in excavating the right amount of soil and establishing a stable foundation. Proper evaluation of the slope and ground level is crucial for creating a sturdy and long-lasting retaining wall that meets your landscape’s specific needs.
Understanding Local Building Codes and Permits
Before starting your retaining wall project, it’s essential to check local building codes and obtain the necessary building permits. These regulations are in place to ensure that your wall is structurally sound and safe for your property and the surrounding area. Building codes can dictate wall height limits, materials allowed, and specific construction practices.
Failing to adhere to these codes can result in fines, mandatory modifications, or even the removal of the wall. Obtaining a building permit ensures that your project complies with all local regulations, giving you peace of mind and avoiding potential legal issues down the line.
How to Build a Retaining Wall?
Step 1: Excavating and Laying the Base
The first step in building a retaining wall is to excavate the area where the wall will be constructed. Begin by marking the wall’s location and then dig a trench that is deep enough to accommodate the gravel base and the first row of blocks. The depth of the trench should be approximately one-eighth of the wall’s total height.
After excavation, lay a layer of coarse gravel in the trench to create a solid base. This base course should be at least 4-6 inches deep, depending on the wall’s height and the soil conditions. Use a plate compactor to compact the gravel, ensuring a stable foundation that will prevent shifting and settling over time. This step is crucial for the longevity and stability of your retaining wall, as a well-prepared gravel base provides the necessary support for the structure.
Step 2: Laying the First Course of Blocks
With the base prepared, you can now begin laying the first course of blocks. Start at the lowest point of the trench and place the first row of blocks directly on the compacted gravel base. Make sure each block is level, both front to back and side to side, as this first course sets the foundation for the entire wall. Use a laser level or a traditional spirit level to ensure accuracy.
If needed, tap the blocks with a rubber mallet to adjust their position. As you work, check the alignment of the blocks frequently to ensure they are straight. The first row is the most critical part of the construction process, as even a slight deviation can cause issues as you build up the wall. Taking the time to lay this row perfectly will make the rest of the construction process smoother and ensure a stable, attractive wall.
Step 3: Building Up the Wall
After successfully laying the first row, you can begin stacking additional rows of blocks to build up the wall. As you add each new row, make sure to stagger the joints by placing each block over the joint of the two blocks below it. This interlocking pattern adds strength and stability to the structure. Each row should be checked to ensure it is perfectly level before proceeding to the next. Use a laser level or a traditional spirit level to check your work, and adjust as necessary.
As you build, pay attention to the height of the wall; if your project requires more than just a few rows, you may need to incorporate additional drainage measures or reinforcements. Continue stacking blocks until you reach the desired height, making sure that the top row is level and properly aligned with the rest of the wall.
Step 4: Backfilling and Drainage
Once the wall is built up to the desired height, the next crucial step is backfilling. Start by filling the space behind the wall with gravel, which will help with drainage and prevent water from accumulating behind the structure. This backfill material should extend at least 12 inches behind the wall and rise to the same height as the wall.
Compact the gravel in layers to avoid settling. On top of the gravel, add a layer of dirt to bring the ground level up to the desired height. Incorporating drainage solutions, such as perforated pipes, at the base of the wall can further help in managing water flow and preventing drainage issues.
Proper drainage is essential to maintain the integrity of the wall and prevent erosion, which can weaken the structure over time. Following these steps ensures that your retaining wall remains strong and durable for years to come.
Tips for DIY Retaining Walls
Common Mistakes to Avoid
When embarking on a DIY retaining wall project, there are several common mistakes that can lead to costly repairs or even failure of the wall. One of the biggest pitfalls is neglecting proper drainage, which can cause drainage issues and ultimately compromise the wall’s stability.
Another common error is underestimating the time and effort involved—building a retaining wall is a time-consuming task that requires careful planning and precision. Finally, avoid cutting corners with materials and construction techniques; following proven diy tips will help ensure a successful project.
Finishing Touches
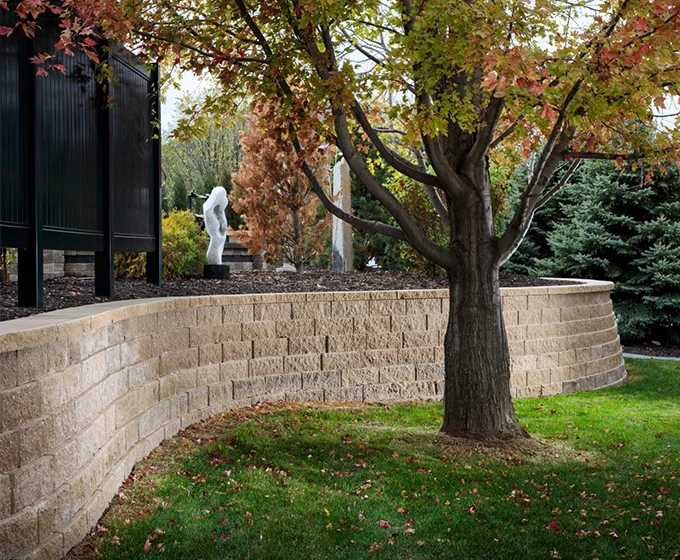
Once the retaining wall is complete, adding finishing touches can enhance its appearance and increase curb appeal. Consider capping the top of the wall with decorative stones or blocks for a polished look.
You can also incorporate landscaping elements, such as plants or mulch, around the base of the wall to soften its appearance and integrate it with the surrounding environment. These small details not only improve the aesthetic appeal but also add value to your property.
Larger Retaining Walls and Special Considerations
Working with Larger Retaining Walls
Building larger retaining walls presents unique challenges that require careful consideration of materials and construction techniques. For walls taller than three feet, it’s crucial to ensure a solid base and consider the need for additional reinforcement, such as geogrid or tiebacks, to handle the increased pressure from the soil. Consulting with a professional is often advisable for complex projects to ensure the wall’s stability and longevity.
Retaining Walls for Special Situations
Certain situations, such as walkout basements or sunken patios, require tailored approaches to retaining wall construction. In these cases, the wall must not only retain soil but also address specific challenges like water management and accessibility.
For example, in a sunken patio, you might need to incorporate steps or seating areas into the design. Proper planning and design can help prevent erosion and create functional, visually appealing outdoor spaces that meet your property’s unique needs.
Call to Action
For expert retaining wall construction in Houston, contact ADL Martinez Services . Our team specializes in creating durable, visually appealing walls tailored to your landscape. Trust our local expertise to deliver professional results that enhance your home’s curb appeal and value. Get in touch today to start your project!