The holiday season is a magical time of year, and one of the best ways to spread festive cheer is by decorating your home with beautiful Christmas lights. Whether you’re aiming for a classic look or a more extravagant display, the right lights can transform your home into a holiday wonderland. However, installing lights on your roof can be a tricky task, and it’s important to choose the right kinds of lights and clips for your roof type to ensure safety and longevity.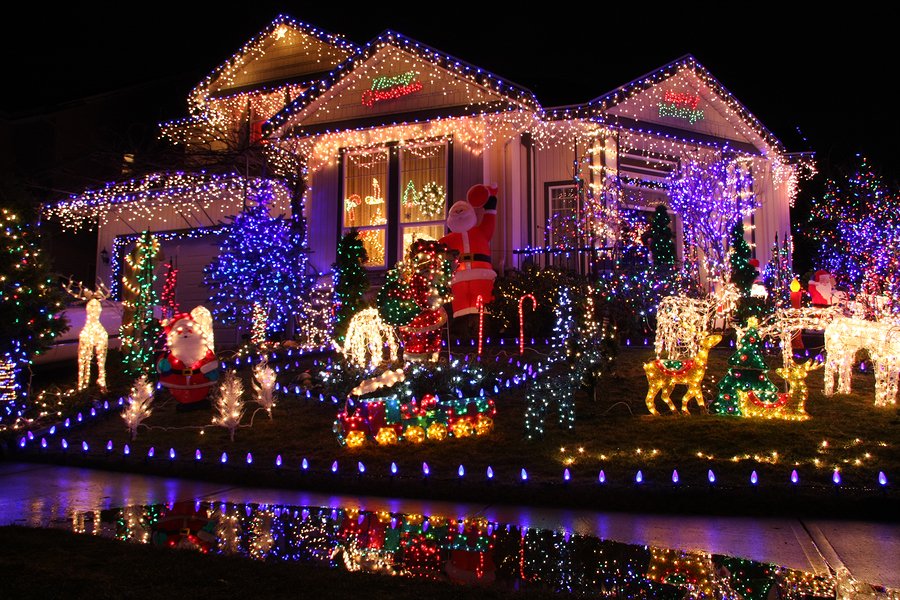
When it comes to roofline decorations, homeowners in Houston, TX, and Humble, TX, can count on ADL Martinez Services for professional Christmas light installations. With years of experience in holiday decorations, we make sure your lights are installed safely and securely, leaving you with a hassle-free experience. From selecting the right kinds of lights to choosing the best clips, we take care of every detail to make your home shine bright this holiday season.
Planning Your Christmas Light Display
Planning your Christmas light display involves more than just choosing the most festive lights—it’s about ensuring that your lights are installed safely and that your home looks stunning. Proper planning starts with understanding the different types of lights available and how to measure your roofline for the perfect installation.
Understanding Different Types of Christmas Lights
There are a variety of lights to choose from, each offering unique features suited for different styles and roof types. LED lights are a popular choice due to their energy efficiency and long-lasting nature, making them ideal for outdoor use in the hot Texas weather. These lights are available in various colors and styles, including traditional string lights, icicle lights, and even magnetic Christmas lights for easy attachment.
Incandescent lights provide a warmer glow and are perfect for creating a cozy, nostalgic ambiance. Although they are not as energy-efficient as LEDs, they are still widely used for Christmas lighting. For homeowners with sloped roofs or intricate layouts, magnetic lights offer a convenient way to secure lights along the eaves without causing damage to the roof.
No matter which type of light you choose, ensure they are rated for outdoor use to withstand Texas weather, which can range from humid to rainy and even freezing temperatures.
Measuring Your Roof and Planning the Layout
Before you start hanging lights, it’s essential to measure the roofline, edges, and eaves of your home. To determine how many strands of lights you’ll need, measure the length of the roof from one end to the other. Don’t forget to factor in the edge of the roof and eaves, as these areas will require extra attention for securing clips and hanging lights.
When planning the layout, consider the spacing between each light strand. This ensures an even distribution of lights and prevents overloading circuits. If you’re planning to highlight certain areas, like the center of gravity of your home or the roofline, focus on these features to create visual appeal.
It’s also essential to leave enough room for extension cords to reach power sources, especially if you’re working with multiple light strands. Proper planning will not only ensure a professional look but will also minimize headaches during installation.
Essential Tools and Materials
Having the right tools and materials on hand can make the process of installing Christmas lights much smoother. From choosing the right clips to gathering safety equipment, these tools are key to a successful installation.
Choosing the Right Clips for Your Roof Type
One of the most important decisions in the installation process is selecting the appropriate clips for your roof. There are several types of clips available, such as plastic clips and Christmas light hooks, which are designed to securely attach lights to your roof without causing damage.
For tile roofs, consider using clips that are specifically designed to fit over individual tiles, reducing the risk of damage. Similarly, plastic clips are a great choice for shingle roofs, as they can grip the edges without needing to puncture or staple the shingles.
For magnetic Christmas lights, you may not need clips at all, as these lights can easily attach to metal surfaces along the roofline. Choosing the right clips for your specific roof type will ensure that your lights stay securely in place throughout the holiday season.
Gathering Safety Equipment for Installation
Safety should always be a top priority when installing lights on your roof. Ensure you have a sturdy extension ladder that is tall enough to reach the roof safely. Never lean the ladder against the gutters, as they can’t support the weight of a person. Always make sure the ladder is on a flat surface and at the correct angle to maintain balance.
In addition to a ladder, wearing a tool belt with necessary tools, such as staples for securing extension cords and lights, can help you stay organized. Duct tape is also useful for securing any loose cords or wires. It’s important to wear proper footwear to avoid slipping, especially when working near walkways and railings. Having the proper safety equipment will reduce the risk of injury and ensure a smooth installation process.
Step-by-Step Guide to Hanging Christmas Lights
Hanging Christmas lights can seem daunting, but with the right preparation and safety precautions, you can achieve a beautiful, professional-looking display. Here’s a step-by-step guide to help you install lights on your roof securely and efficiently.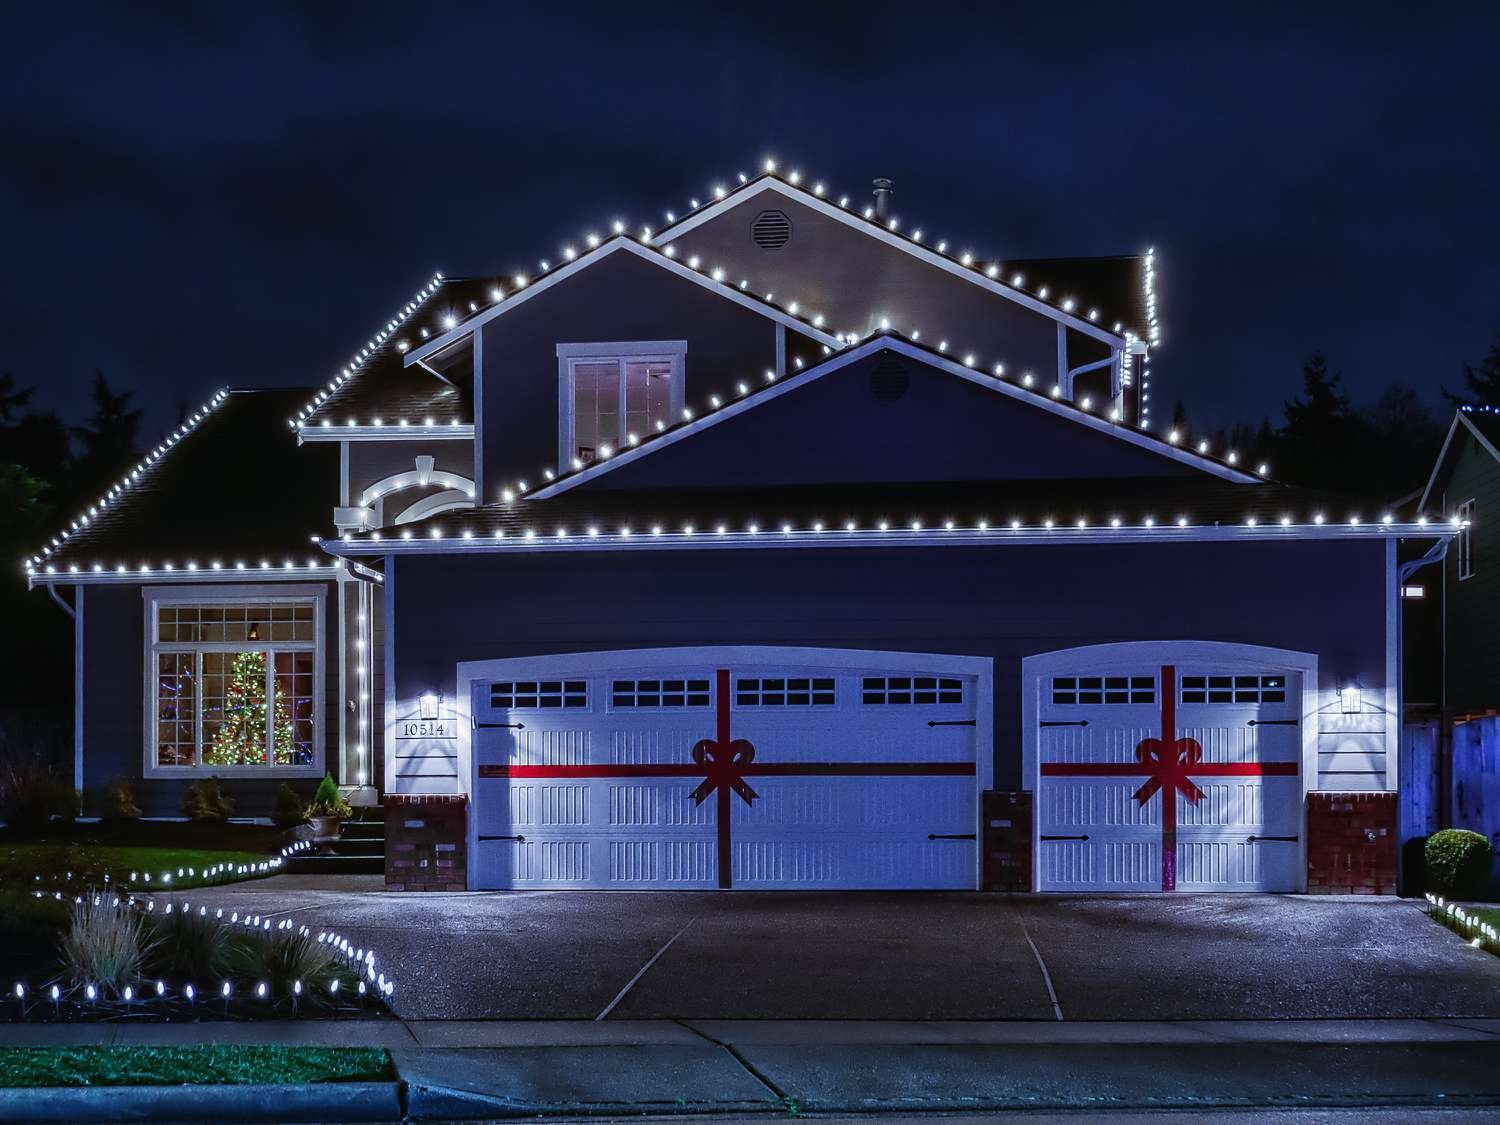
Step 1: Preparing Your Lights and Tools
Before you start, it’s important to check for any moisture on your light strands, especially if they have been stored outside or in damp conditions. Ensure each strand of lights is in good working condition by testing them before you climb up to the roof.
Inspect the bulbs to make sure none are burnt out, and replace any defective ones. Also, gather all the tools you’ll need, including plastic clips or Christmas light hooks, extension cords, a staple gun, duct tape, and your tool belt. Being prepared will save you time and effort during the installation.
Step 2: Setting Up Your Ladder Safely
Using an extension ladder is essential for reaching the eaves of your home and roofline. Position your ladder on a flat, stable surface, ensuring that the center of gravity is balanced for maximum safety. Place the bottom of the ladder about one foot away from the house for every four feet of ladder height to maintain a safe angle.
Always ensure that the ladder extends at least three feet above the roof’s edge to provide a firm grip when climbing. Double-check that the ladder is secure before climbing, and always have someone nearby to assist if necessary.
Step 3: Attaching Clips to Your Roof
Once your ladder is in place, begin by attaching the plastic clips or Christmas light hooks to the edge of the roof or eaves. Start at one end of your roof and work your way along, making sure the clips are spaced evenly—typically every 12 to 18 inches.
For tile roofs, it’s important to use clips that can slide under the tiles without causing damage. Be mindful of the risk of damage to shingles or tiles, as stapling or hammering can result in cracks. Avoid using staples directly on the roof material, as this can void warranties or cause leaks.
Step 4: Hanging Lights on the Clips
Once the clips are in place, carefully hang the light strands onto the clips, making sure they fit snugly without putting strain on the wire. Take care not to stretch the lights too tight, as this can cause wear and tear on the light strand over time.
If you’re using magnetic Christmas lights, simply attach them to any metal surface along the roofline. Be sure to space the lights evenly for a uniform look, and avoid overcrowding by ensuring each strand has enough slack for proper alignment.
Step 5: Connecting the Lights and Power Source
After all the lights are securely attached, it’s time to connect them to a power source. Ensure the extension cord is rated for outdoor use and is long enough to reach from the power source to your lights without stretching. Plug the lights into the extension cord, making sure all connections are tight and secure to avoid electrical issues.
If using multiple strands, ensure they’re compatible and that the total wattage doesn’t exceed the extension cord’s capacity. Manage your cords neatly using duct tape or cord organizers to prevent tripping hazards and keep walkways clear.
Safety Tips for Working on Your Roof
Working on your roof can be dangerous if proper safety precautions aren’t followed. Ensure that every step is taken to minimize risks and keep yourself safe while decorating with Christmas lights.
How to Safely Use a Ladder?
When using an extension ladder to access the roof, it’s essential to set it up correctly to ensure stability. The ladder should be positioned at a 75-degree angle, meaning the base of the ladder should be one foot away from the house for every four feet of height. Always make sure the ladder is on a flat, stable surface and that it extends at least three feet above the roof edge for a secure grip. Never lean the ladder against gutters or any unstable surfaces, as they can’t support your weight.
What are the safety precautions to keep in mind when installing Christmas lights on a roof?
When installing Christmas lights on a roof, ensure to use lights rated for outdoor use, avoid overloading circuits to prevent fire hazards, use insulated holders to secure lights, and never install lights on a wet or snowy roof to reduce the risk of electrical shock.
Tips for Avoiding Electrical Hazards
When hanging Christmas lights on your roof, always use weather-resistant lights that are designed for outdoor use. Check for any frayed wires or loose connections before setting up. Make sure to use outdoor-rated extension cords and avoid overloading outlets to prevent electrical hazards.
If you’re using a timer, ensure it’s rated for outdoor use and securely connected to your lights. Keeping your electrical connections safe and weatherproof will ensure your lights shine bright without any risk of electrical accidents.